Ten Tips for a Problem-Free, Super Productive Home Garden (Part 3)

In this third instalment, we will focus upon the multiple reasons why organic matter really matters. We will explore exciting new composting options and we will consider the productive use of humic acid in your garden.
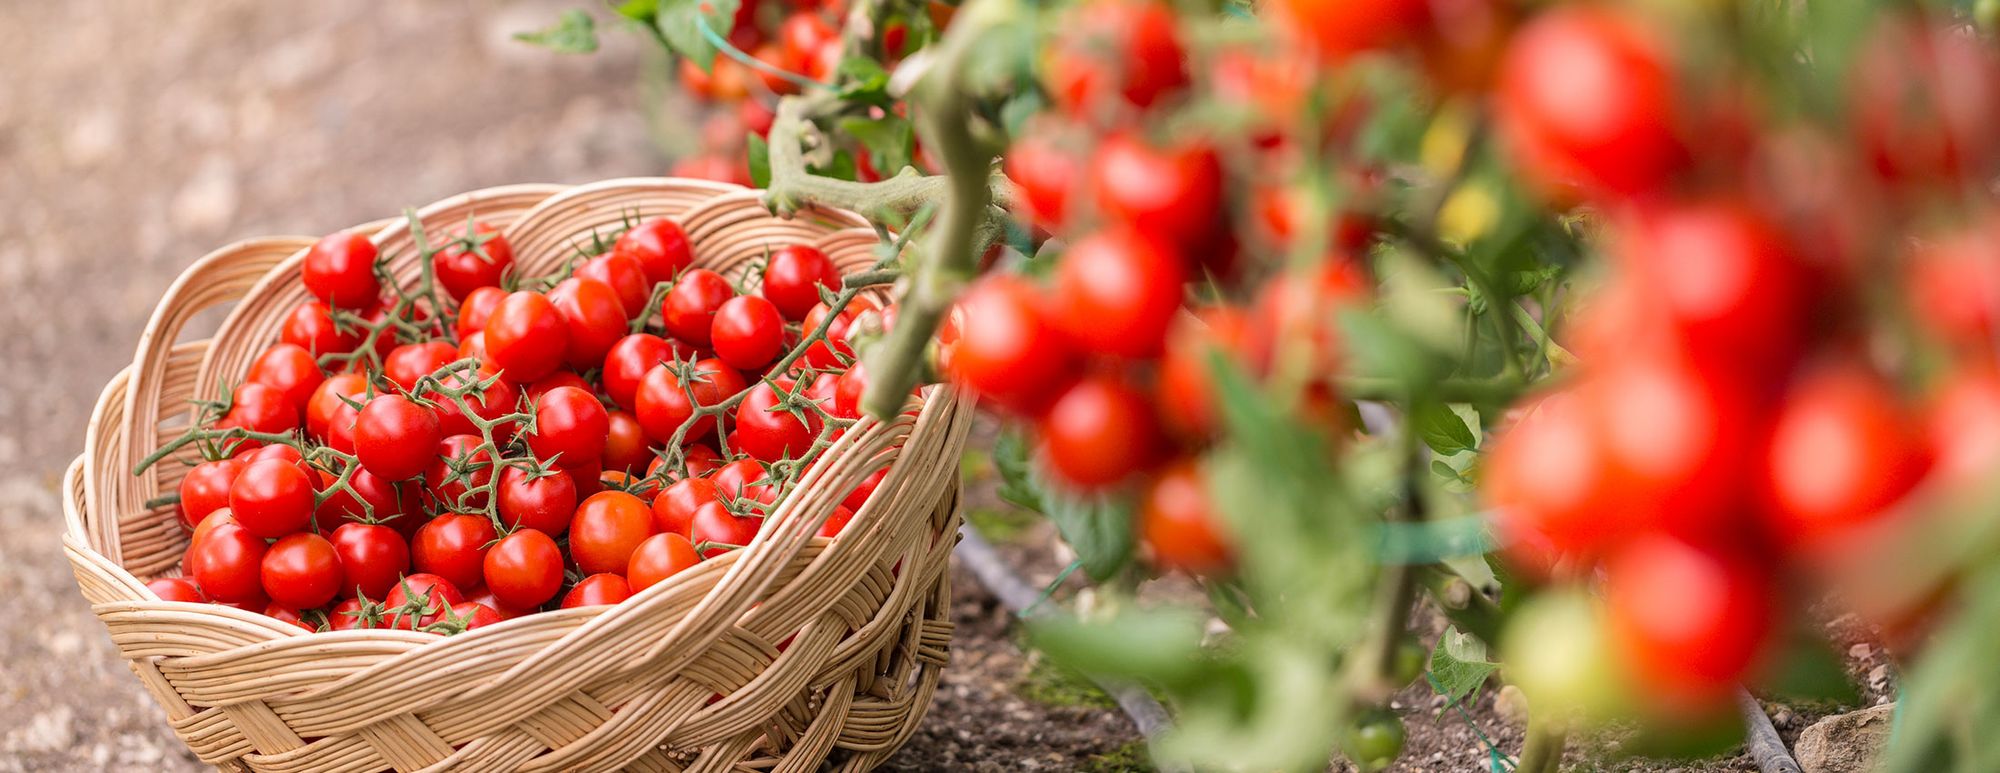
7) Organic Matter Matters – Compost, Mulch and Humic Acid
A revealing study, funded by National Australia Bank, investigated the dynamics of profitability in agriculture. To the surprise of the researchers, the single most important determinant of profit was the percentage of organic matter (humus) in a given soil. While financial profit may not be the driver in your backyard food factory, the bank study is of equal importance when building a different form of wealth.
The markers of a successful life include peace, happiness and health. The more of this trio that you achieve in a short life span, the greater and more "prosperous" that life. It is difficult to separate this threesome, but it is safe to say that your home garden delivers an abundance of each. There is nowhere more peaceful, and there is an undeniable joy in working with nature to feed your family. Finally, of course, your health is your wealth, and your home garden is your ultimate wellness tool.
Humus is the essence of soil health. This sweet-smelling soil chocolate is created by microorganisms, and it serves as their home base and support system. Humus is the storage and delivery system for all minerals and it also houses a soup of microbial exudates that help create disease suppressive soils. The higher the humus levels in your garden, the greater the nutrient density and medicinal value of your produce and the less the need for stressful pest management. This problem-free outcome is the key to maximising the pleasure potential in home food production.
So, how do we build this magical material most effectively? It is all about compost, mulch and humic acid.

Compost, Compost, Compost
Compost is the cornerstone of garden vitality. Every home needs a compost bin/pile and a vermicompost station. Compost recycles garden and household food waste to create a profound source of biodiversity (over 30,000 different creatures within the 5 billion organisms found in a teaspoon of good compost). It is both an invaluable source of stable humus, and a triggering mechanism to reclaim the humus-building potential of your garden.
Building a compost heap is simple and satisfying. You build your pile 25 cm at a time while alternating carbon layers (straw, council mulch, prunings etc) with nitrogen layers (manure, lawn clippings, green waste etc). Lime, previous compost (which serves as a starter), and other nutrients can be sprinkled on each level of your layer cake before thoroughly wetting down that layer. When the pile is complete and thoroughly hydrated, you cover it with wet sacks or old carpet and turn it several times over the next 3 to 4 months until the heat diminishes.
There is much more detail about this process in my recent article entitled "Humus Gardening - Healthy Soils, Hardy People, Happy Planet". Here, we will look at three productive new ways to benefit from the magic of compost in the home garden.
Three Exciting New Compost Initiatives
1) A Disease Suppressive Compost
In my recent article on Trichoderma, I overlooked an important new finding about this multi-function, bio-balancing fungi. The Philippines government have recently published a set of best practice guidelines relative to maximising the potential of Trichoderma. These guidelines may offer a great new strategy for the home gardener seeking a disease suppressive, super productive soil. A Trichoderma-packed compost can be produced in just 4 weeks using their proven technique. Here's how you do it:
- Create a DIY circular composting frame by wiring together 1 metre high chicken wire.
- Mix together equal amounts of straw and animal manure and add the mixture into the circular wire bin in 25 cm layers.
- Wet down each layer with a watering can containing diluted Trichoderma inoculum (Nutri-Life Tricho-Shield™), at the rate of one watering can per layer. It will take four layers to fill your bin. Tricho-Shield™ is included at the rate of two heaped tablespoons per watering can.
The wire bin should be positioned on a pallet to allow oxygen to enter from below, and on all sides (via the wire frame). There is no turning involved in this compost, so it is essential that the ingredients can breathe.
The completed compost is ready to use in just four weeks and you now have a wonderfully protective compost that can be added to all garden beds and around all fruit trees. Trichoderma are voracious cellulose-digesting organisms, hence the fast-tracked production of compost. Your new compost creation will deliver disease resistance, immune elicitation, plant growth promotion and improved nutrient density of your produce.

2) BAM™ Composting
When we think of composting, we think of turning the compost regularly to speed the decomposition process, via controlled oxidation. However, there is another effort-free way to compost that involves a completely different group of beneficial organisms. Anaerobic bacteria are often undesirable, opportunistic organisms that erupt and destruct when soil oxygen levels are depleted. Compaction, a tight, closed soil structure, or a poor calcium to magnesium ratio are likely contributors. However, there is another group of anaerobes that are not pathogens. In fact, they are an immensely valuable workforce that can protect from disease while creating humus, stimulating plant growth, delivering minerals and improving soil structure.
This group includes fermenting fungi, Actinomycetes and a unique group of photosynthesising organisms called purple non-sulfur bacteria (PNSB). However, the most prevalent beneficial anaerobes amongst this group involve the same organisms that dominate our microbiome (organisms that inhabit the human body). These are a diverse group of bacteria called Lactobacillus.
NTS has developed an inoculum based upon productive anaerobes, called Nutri-Life BAM™ (Beneficial Anaerobic Microbes). The name suggests a big impact, and these organisms will not disappoint. They can be applied to the soil or the leaf surface and there is an immediate growth and resilience response. However, here, we are talking about a new way to compost.
BAM™ composting creates a beautiful, humus-rich end product. There is no turning involved and the conversion rate from raw organic matter to completed compost is much higher than in aerobic composting (910 kg per 1000 kg of raw materials in BAM™ composting vs 670 kg for conventional composting).

Here’s how you create your low effort, super protective and productive BAM™ compost:
-
Begin with your 25 cm layer of carbon (straw, dead leaves or fine council mulch). Sprinkle that layer with lime, previous compost, clay-based material (like soil or soft rock phosphate), crusher dust, zeolite and perhaps a trace mineral blend.
-
Apply BAM™ concentrate at the rate of 1 L per cubic metre diluted in enough water to thoroughly wet down that layer before forming the second layer.
-
The second 25 cm layer consists of nitrogen-based materials like lawn clippings, manure, green leaves or lucerne hay. Once again, you can sprinkle this layer with the additives described above, including the diluted BAM™ concentrate applied at the rate of 1 L per cubic metre of raw materials. It is not essential that you add extras like zeolite, minerals, etc, but if you are seeking a fertilising compost, it is a great strategy.
-
Once again, you thoroughly wet up this layer and then add another carbon layer. Alternate carbon and nitrogen layers, with the optional add ons, until your pile is around 1.5 – 2 metres high. This will typically involve a total of eight layers.
-
At this point, it is is a good idea to fork through and turn the heap to blend together the total mixture, but this is not essential.
-
When the pile is completed, you need to cover it completely with a large, heavy duty plastic tarpaulin. The pile must be free from oxygen so the anaerobes can thrive. The plastic tarp must be held down on all sides with weights to keep the tarp in place and to keep the air out. You can tie ropes to concrete blocks on either side of the pile. This lace-like network of blocks and ropes will hold the tarp in place, even in windy conditions.
-
Eight weeks later, you can lift your tarp and marvel at the rich, black, wonderfully productive compost you have created. There has been no labour, no smells, no CO2 or methane losses, and no additional water required, to produce 25% more compost than the aerobic alternative. It is a major breakthrough for vegetable gardeners!
3) Vermi-composting – Let the Worms do the Work
Many home gardeners have experimented with plastic worm farms to create a little vermicast or worm juice to boost their gardens. You feed the bins with food scraps, and a tap at the base allows access to the worm juice. However, in this segment, we will investigate a vermicast adventure that can make a serious difference. Most gardeners need much more than the shovelful of vermicast created by these toy bins. Let’s look at how we might produce much more of this special compost, and how we can achieve this abundance cost-effectively.
Firstly, you may be wondering why worm compost is so special. Well, the evidence has shown that vermicompost has no equal. In one Queensland study involving six different composts, vermicompost was shown to be 20 times more potent than the second best compost tested. There are several reasons for this superiority. The composting worms digest organic matter with a unique group of highly beneficial bacteria incubated in their own gut and the vermicast is teeming with soil life.

Secondly, the earthworms create humus four times faster than any other form of decomposition and that humus is absolutely mineral-packed. Analysis of earthworm castings reveal that these little fertiliser machines produce poo with 10 times the nitrogen, 7 times the potassium, 5 times the phosphorus, 3 times the magnesium and 1.5 times the calcium of surrounding soil. The castings are also very rich in trace minerals. The worms produce antibiotics that can remove pathogens from your soil and they produce hormones that stimulate root growth and plant resilience.
So, how can we produce enough of this magical material to benefit our entire garden, rather than the pot plant quantities associated with the small farms? Here's how you can do it for under $250 (AUD):
How to Build a Large Scale Worm Farm
There is a way that you can produce over 100 kg of vermicast per year and hundreds of litres of worm juice. It involves converting a 1000 L shuttle, or tote, into a highly productive worm farm.
You begin the construction by removing the top rung of the aluminium cage that encases the 1000 L plastic tank. You can use a grinder, or something similar, to cut off that top layer. Next you slice of the corresponding top portion (25 cm) of the plastic tank within. Leave the screw top lid attached and then drill multiple 1.5 mm holes in the recently removed top, to create a sieve-like effect. That top, through which worm juice can now drip, is then positioned into the bottom of the tank, creating a large storage tank beneath the worm farm destined for above.
You have effectively reduced the internal depth of the 1000 L container by 50 cm by cutting off the top and putting it in the bottom. This creates a worm farm with more favourable dimensions, as the worms do not favor such a deep bin.
Now you have an open top that needs to be enclosed. First, you create a 1 m2 frame with 2x2 pine and bolt it to the top of remaining aluminium cage. Then create an identical 2x2 square pine frame that is hinged to one side of the first frame. Next, you screw some corrugated iron onto the top frame, fix a handle to the lid you have just created, and your new worm farm is almost complete.
The new worm farm should be positioned on concrete blocks so that you can put a large bucket beneath the tap, to easily access the worm juice.
The last step is to paint the entire bin in a dark color, to keep out the sunlight. Worms hate sunlight almost as much as vampires fear daybreak. This blackout is rapidly achieved with a compressor and spray gun, or it is a bit more tedious process with a brush.

To start your farm, you will need to invest in 1 kg of composting worms for $100 (AUD) and a compressed pack of coco peat for $15 (AUD). Place the peat block in a wheelbarrow and fill the barrow 3/4 full with water. Thirty minutes later you will have a barrow full of moist peat that you can place in your worm farm to house the new inductees.
You can feed your farm with food scraps, coffee grinds, lawn clippings (in thin layers) and manure. Every six weeks the worms double up and six months later you can begin selling worms for $100 (AUD) per kg. More importantly, you will have an ongoing supply of solid and liquid vermicast.
There is a dual benefit associated with the liquid vermicast reservoir you have effectively created in the bottom of the tank. You now have a liquid fertiliser on tap, and this reservoir also serves as a cooling system to protect the worms during heatwaves. We have many of these bins on our Nutrition Farms properties, and we did not lose a single worm during the heatwave last summer.
You can buy these bins secondhand for around $100 (AUD), but make sure that they did not previously contain anything toxic. We have clean ones at NTS. You can pick up used corrugated iron sheets for $5 (AUD) from Resource Recovery Centres (the fancy new name for the dump), so the total cost of this project, including the worms and peat is around $250 (AUD). This is a small price to pay to maximise the benefits of your ultimate family wellness tool, and it can be fully recovered with worm sales within the first year.
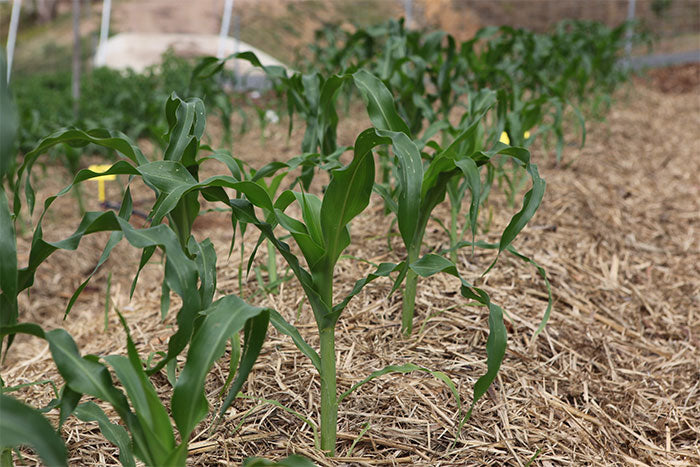
The Mulching Imperative
Mulching retains moisture, protects the soil from extremes and, most importantly, it feeds and stimulates soil life. It is a critical strategy for Nutrition Gardening®. You might protect your soil with straw, council green waste or cane mulch. You may even opt for a fertilising mulch like lucerne hay.
You will observe the positive changes in your soil as the mulch converts to humus. There is great pleasure in observing the pampered soil life and shrouded top soil, flourish in your nurturing. Again, there is more information about this strategy in my earlier article entitled "Humus Gardening - Healthy Soils, Hardy People, Happy Planet".
Help from Humic – Understanding this Natural Phenomenon
When you make compost, you are effectively producing a natural acid called humic acid. If your soil is thriving and biologically active, with high levels of humus, then your soil naturally contains good levels of humic and fulvic acid (humates). These natural substances are actually the key players in organic matter. The good news is that they can be extracted in heavy concentrations from ancient plant matter (brown coal) and used, almost as substitutes, in gardens lacking all-important humus.
Humic acid serves as a soil sponge, holding seven times its own weight in moisture. It stimulates plant roots and feeds beneficial fungi in your soil. This remarkable biological acid helps create crumb structure, where plant roots, and the organisms surrounding them, can breathe more freely. It also deactivates toxins in your soil and helps to boost plant immunity. When you combine humic acid with fertilisers, you increase their performance by one third, via a process called cell sensitisation. This well-researched phenomenon increases cell membrane permeability, so the plant can uptake 33% more.
Humic acid has become one of the most popular inputs in modern agriculture, but NTS is one of the very few companies offering high-quality humic acid to home gardeners. Life Force® Instant Humus™ involves soluble humic acid granules that can be finely spread or diluted in a watering can. A 1 kg container of these potent granules is sufficient to treat more than 400 m2 of soil.

In the next instalment, we will consider the gains associated with feeding your soil life. You will also learn why your self-conscious soil hates to be naked, and I will discuss the importance of plant selection and rotation in your food garden.
To read Part 4 of this article, please click here.
To go back to Part 1 of this article, please click here.
Sign up to our e-newsletter to receive the latest articles, product updates and exclusive offers from NTS. Every new subscription receives a free digital copy of Graeme Sait's book, 'Nutrition Rules!'. CLICK HERE TO SUBSCRIBE